
As temperatures drop, pests like rodents, ants, and spiders seek shelter indoors. To protect your home, focus on these key steps:
- Seal entry points: Inspect windows, doors, foundations, and vents for gaps or cracks. Use caulk, expanding foam, and weatherstripping to block access.
- Remove attractants: Eliminate food, water, and clutter. Store food in airtight containers, fix leaks, and declutter storage spaces.
- Maintain your home: Clear gutters, trim vegetation, and monitor for pest activity. Use traps, bait stations, and humidity monitors to stay ahead.
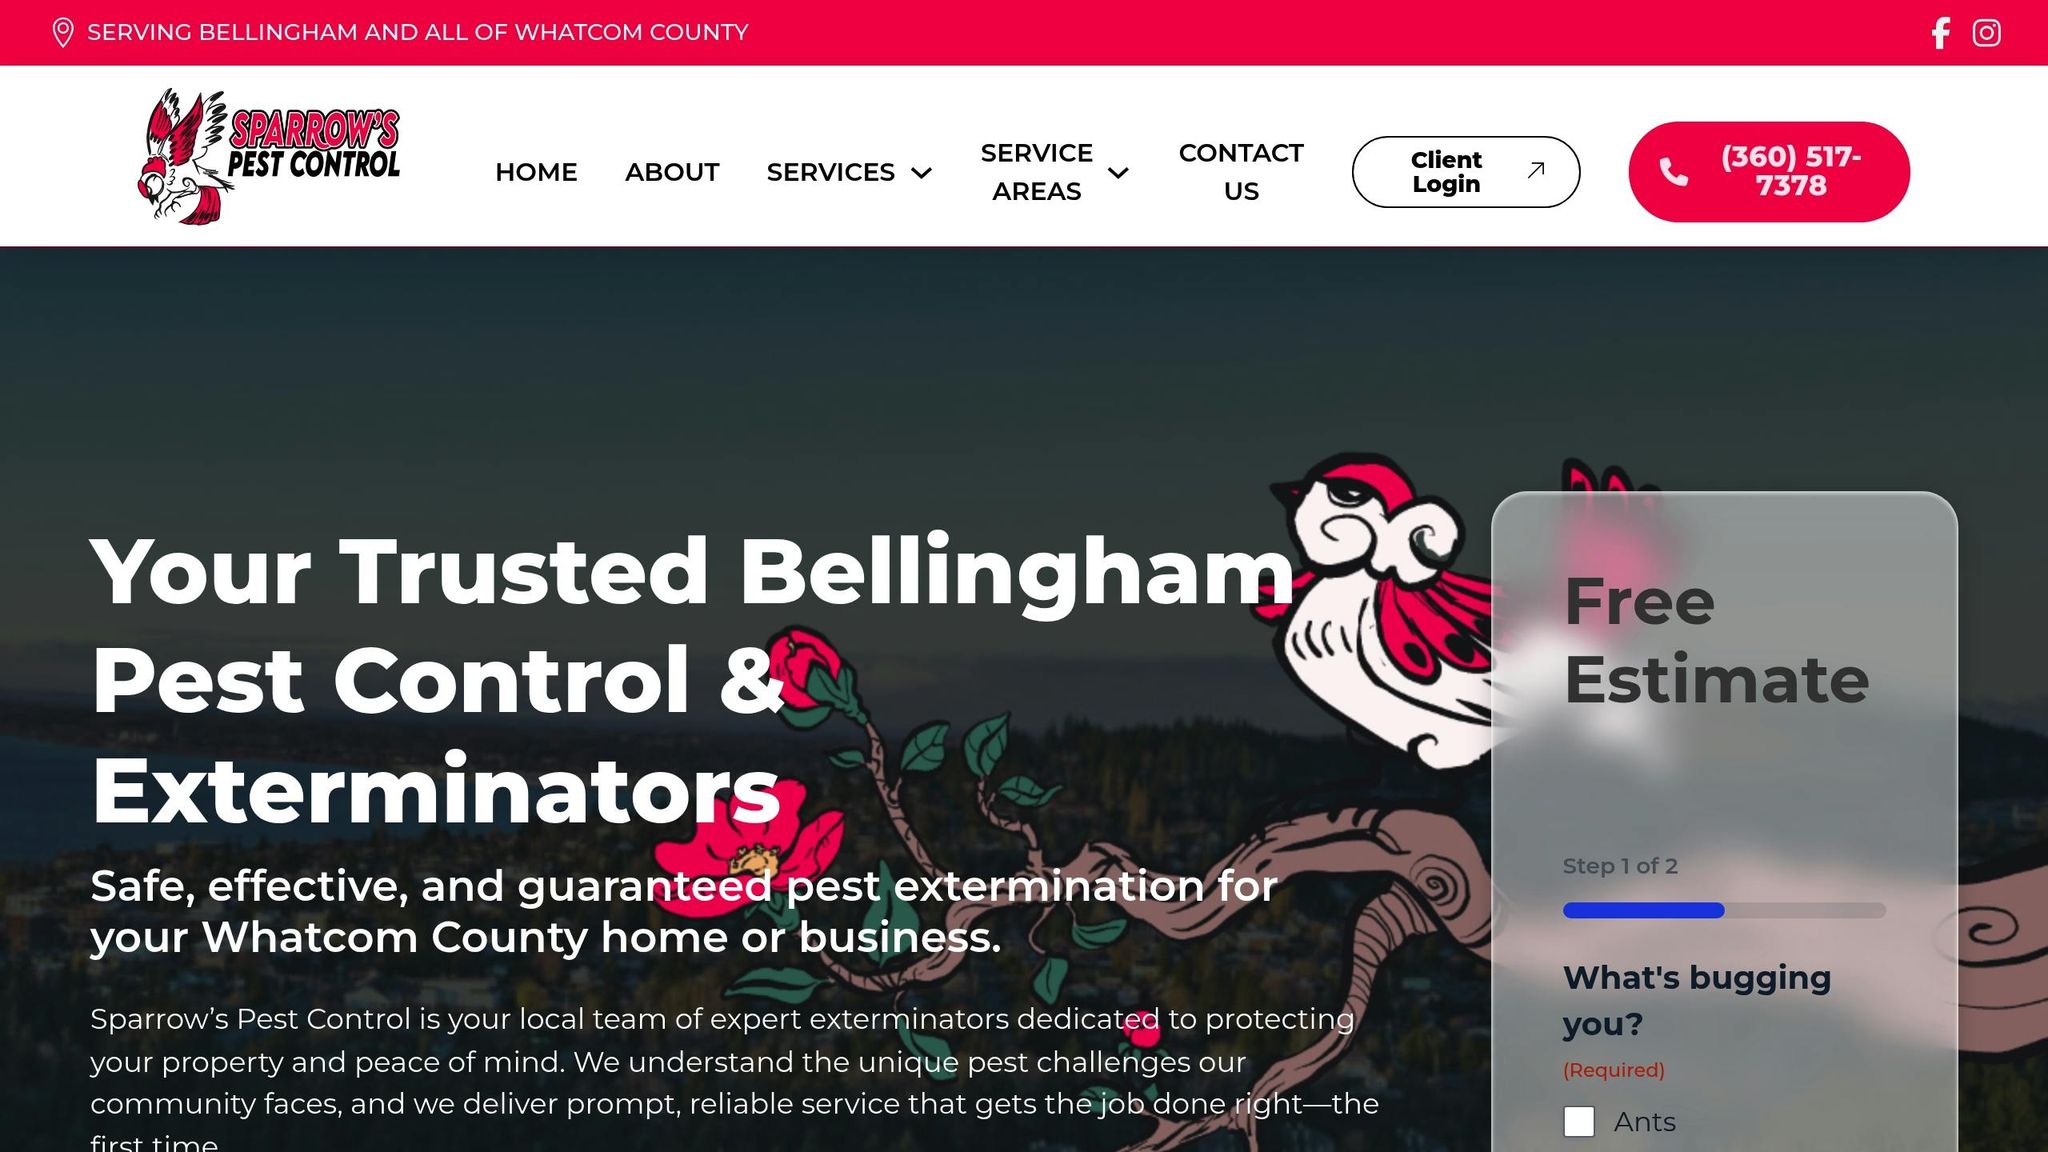
- Consider professional help: For recurring issues or severe infestations, hire pest control experts like Sparrow’s Pest Control, offering tailored plans starting at $39/month.
Step 1: Find and Check Pest Entry Points
The first step to safeguarding your home from pests is inspecting for potential entry points. Even the smallest gaps can serve as doorways for pests, so using the right tools and techniques is crucial. Pay special attention to areas where pests are most likely to sneak in.
Where to Look for Entry Points
Start your inspection armed with a reliable flashlight – having a backup is always a smart move. Focus on dark, hidden areas like crawl spaces, attics, and basements, as these are common hiding spots for entry points. For rodents, look for openings larger than a quarter-inch wide. Smaller insects, however, can squeeze through gaps as tiny as 1/25 of an inch – about the size of a pencil eraser.
Begin your exterior check by walking around your home’s foundation. Look for cracks, gaps where utility lines enter, and spaces around pipes. Pay close attention to the joints where different building materials meet, as these areas can develop openings over time.
Next, inspect windows and doors. Check the weatherstripping for wear and tear, look for gaps in the frames, and examine screens for any holes or tears. Don’t forget sliding doors – worn seals at the bottom are common culprits for pest entry.
The roof and gutter areas also need a thorough inspection. This is especially important in regions like the Pacific Northwest, where heavy rainfall can worsen existing gaps. Look for damaged shingles, gaps around vents, and spots where gutters may have pulled away from the house. Garage doors are another weak point – check the rubber seals, as they can shrink or crack over time, creating easy access for pests.
To enhance your inspection, use specialized tools like a UV flashlight, a moisture meter, and the F.I.T.. A UV flashlight can reveal pest urine and droppings that are invisible to the naked eye. Moisture meters help locate water damage, which often attracts pests, and the F.I.T. is useful for probing small spaces and measuring gaps.
How to Spot Pest Activity
Finding entry points is only part of the job; you also need to look for signs of active pest activity. Identifying these clues can help confirm whether pests are already using those openings.
Check for droppings, gnaw marks, and grease trails along walls. Mouse droppings are small and dark, resembling grains of rice, while rat droppings are larger and more cylindrical. Fresh droppings are typically dark and moist, while older ones turn gray and crumble when touched.
Rodents are notorious for chewing to keep their ever-growing teeth in check. Look for gnaw marks on wood or wires. Grease marks and runways along walls often indicate repeated pest traffic, and in dusty areas, you might spot small tracks or footprints.
Keep an ear out for scratching or scurrying sounds in walls or ceilings, which are telltale signs of an active infestation. A strong urine odor in enclosed spaces can also point to established rodent nesting areas.
Spider webs in corners and crevices can signal the presence of other insects, as spiders often set up shop where prey is abundant. Additionally, if you find nests or nesting materials like shredded paper, fabric, or insulation near entry points, it’s a clear sign that pests may be settling in for the long haul. A detailed inspection lays the groundwork for effective prevention as you prepare your home for the colder months.
Step 2: Seal Gaps and Protect Your Home
Once you’ve identified entry points, the next step is to secure them completely. Properly sealing these gaps is essential to keeping pests out and safeguarding your home, especially during the harsh Pacific Northwest winters.
Tools You’ll Need for the Job
To create strong, lasting seals, you’ll need the right tools and materials. Here’s what works best:
- Caulking gun: A must-have for filling cracks and gaps around windows, doors, and your home’s foundation. Opt for one with a smooth trigger action and a built-in cutter for easy use.
- Expanding foam sealant: Perfect for larger gaps, especially around pipes and utility lines. It expands to fill irregular spaces and hardens into a durable barrier. For outdoor areas, choose weatherproof foam designed to handle moisture and temperature changes.
- Door sweeps and weatherstripping: Essential for sealing gaps under doors and around windows. Rubber door sweeps create a snug seal at the threshold, while adhesive-backed weatherstripping works well around frames. Make sure to pick materials suited for your local weather conditions.
- Fine mesh screens: Use 1/4-inch or smaller mesh to cover vents, chimneys, and other openings that need airflow but should stay pest-free. Stainless steel or galvanized mesh is more durable than plastic and resists corrosion.
- Utility knife: Handy for removing old caulk and trimming excess foam after it hardens.
With these tools ready, you can tackle sealing each vulnerable spot in your home step by step.
Sealing Problem Areas
Start with windows and doors. Replace worn-out weatherstripping and use exterior-grade caulk to seal gaps between window frames and siding. Pay special attention to the bottom corners, where water tends to collect. For door frames, apply new weatherstripping that compresses slightly when the door closes for a tight fit.
Foundation cracks are another critical area. Even small gaps can invite rodents inside. Clean out debris from cracks first. For openings smaller than ½ inch, apply exterior-grade caulk. For larger gaps, insert a foam backer rod before sealing with caulk to ensure a tight closure.
When it comes to vents and chimneys, maintaining airflow while blocking pests is key. Cover attic vents, dryer vents, and exhaust fans with fine mesh screens, securing them with screws or heavy-duty staples. For chimneys, install caps with built-in screens to keep out both pests and debris.
For pipes and utility lines, expanding foam is your best bet. Apply it around the openings where pipes enter the house. The foam will mold to irregular shapes, creating a solid barrier. Once it’s fully cured, trim any excess with a utility knife for a neat finish.
Garage doors often have gaps that are tricky to seal. Replace worn rubber seals along the bottom and sides of the door. To test if your seal is effective, close a piece of paper between the door and the threshold. If the paper slides out easily, it’s time to replace the seal.
Finally, focus on crawl spaces and basements. Seal around foundation vents and access doors by installing tight-fitting covers. Make sure basement windows close securely and have intact weatherstripping. Also, inspect areas where different building materials meet, as these joints can develop gaps over time.
Sealing your home is not a one-and-done task. Temperature changes can cause materials to shift, so it’s important to check your seals periodically. By taking the time to do this now, you’ll keep pests out through the colder months and be better prepared for spring. A little effort now goes a long way toward long-term protection.
Step 3: Remove Food, Water, and Shelter Sources
Once entry points are sealed, the next step is to eliminate the essentials pests rely on – food, water, and shelter. By removing these resources, you create an environment that pests find unwelcoming, reducing the chances of an infestation.
Clean Up and Organize Storage Areas
Start by decluttering spaces like garages, attics, and basements. These areas often become prime hiding spots for pests. Get rid of unused items, such as old boxes, accumulated junk, or anything you haven’t touched in over a year. Consider donating or discarding these items to clear out potential shelters.
Use sturdy shelving systems to elevate stored items off the floor. This not only makes cleaning simpler but also eliminates the ground-level spaces pests prefer. For tools, bikes, and lawn equipment, hanging storage options like pegboards or heavy-duty hooks are a great way to keep things organized and off the ground.
Take advantage of vertical space by using ceiling storage or loft areas. Keeping items higher up reduces access for climbing pests while freeing up floor space. Also, avoid storing unrelated items together – like animal feed and seasonal decorations – as this can attract pests.
Once storage areas are tidied up, it’s time to focus on food and trash management.
Store Food and Manage Trash Properly
Pests are drawn to food, so proper storage is key. Use airtight, durable containers like glass jars or thick plastic bins to keep food secure. Avoid storing anything in cardboard boxes or thin plastic bags, as these are easily chewed through.
Pay special attention to pet food. Transfer dry pet food from its original packaging into sturdy metal or plastic containers with tight lids. Store these in cool, dry areas away from exterior walls to keep pests at bay.
For trash, use garbage bins with tight-fitting lids both indoors and outdoors. Clean these bins regularly with a bleach solution to eliminate food residue and odors that could attract pests.
Maintain a clean kitchen by wiping down counters and cleaning behind appliances where crumbs and spills often go unnoticed. Don’t forget hidden areas like under sinks and inside pantries – keeping these spots spotless is a simple but effective way to deter pests.
Fix Moisture Problems
After securing food, it’s crucial to address water sources, as pests are just as attracted to moisture.
Fix leaks immediately, whether they’re under sinks, around toilets, near water heaters, or in plumbing connections. Even small drips can provide enough water for pests to thrive.
Ensure proper drainage around your home by keeping gutters and downspouts clear of debris. This prevents water from pooling near your foundation, a common issue that can attract pests.
For indoor humidity, use exhaust fans and dehumidifiers to maintain levels between 30% and 50%. Proper ventilation is key – clear attic vents, and consider adding fans or vents in basements to improve airflow.
Finally, eliminate standing water wherever it might collect. Empty plant saucers, pet water bowls, and outdoor containers regularly to remove any lingering water sources that could attract pests. By addressing these moisture issues, you complete a strong pest-prevention strategy.
sbb-itb-be66415
Step 4: Set Up Regular Maintenance and Monitoring
Once you’ve tackled the initial preventive steps, it’s crucial to keep those defenses in top shape through consistent maintenance. By sticking to a routine, you’ll not only preserve your pest-proofing efforts but also spot potential issues early – before a minor nuisance turns into a serious infestation.
Regular Maintenance Tasks
Make it a habit to inspect your home’s exterior every month. Look for cracks, gaps, or worn-out weatherstripping, especially in areas where different materials meet, like where siding meets the foundation.
In the fall, check your roof and gutters every six weeks. Clear out debris to prevent moisture buildup and seal off potential entry points.
Trim back any vegetation around your home, ensuring there’s at least an 18-inch gap between plants and your walls. This reduces access points for pests near windows, doors, and your roof.
Ventilation systems need attention too. Check them monthly – clean dryer vents, replace HVAC filters, and confirm that bathroom exhaust fans are functioning properly. Poor ventilation can lead to humidity problems, which attract pests like cockroaches and silverfish.
Every three months, give your storage areas a thorough cleaning. Garages, basements, and attics are prime spots for pests to settle in. Move items around to vacuum or sweep underneath them, and keep an eye out for droppings, chewed materials, or signs of nests.
These tasks help ensure that the preventive measures you’ve already put in place remain effective over time.
Monitoring Tools and Methods
Pair your maintenance routine with tools designed to detect pest activity early.
- Sticky traps are simple yet effective. Place them along baseboards in kitchens, bathrooms, and utility rooms – anywhere pests are likely to roam. Check the traps weekly and replace them monthly, even if they seem unused. Dust and debris on the traps show they’re doing their job.
- Bait stations are great for monitoring rodents. Set them up in garages or basements along walls where mice and rats tend to travel. Space them about 10 to 12 feet apart and check them every two weeks for signs of bait consumption or tampering.
- Motion-activated cameras are handy for catching nocturnal pests like rats and raccoons. These cameras, priced between $30 and $80, can be placed near garbage bins, pet food storage, or previously sealed entry points to monitor activity.
- Temperature and humidity monitors can alert you to conditions that attract pests. Digital monitors, which cost around $15 to $25, help track humidity levels (keep them below 50%) and temperatures that could encourage pest reproduction. Place these in crawl spaces, basements, or other moisture-prone areas.
Keep a detailed log of pest activity. Note the date, location, type of evidence, and any relevant weather conditions. This record can help you identify patterns and address issues more effectively.
For a more hands-off approach, consider professional monitoring services. These services typically include quarterly visits, during which experts inspect your property, provide detailed reports on pest activity, and adjust treatments as needed. While it may seem like an added expense, it often saves money in the long run by avoiding costly damage from undetected infestations.
Step 5: Local Pest Control and Professional Services
Taking on pest prevention yourself is a great starting point, but sometimes you need the expertise of professionals to ensure your home stays pest-free all winter long. Combining your DIY efforts with professional pest control services can give you that extra layer of security and peace of mind.
Sparrow’s Pest Control Services
Sparrow’s Pest Control, led by Eric Chan, specializes in addressing the unique pest challenges of the Pacific Northwest. Their approach is rooted in Integrated Pest Management (IPM), which not only targets existing infestations but also identifies and addresses the factors that attract pests in the first place.
They offer three service plans tailored to different needs and budgets:
- Basic Plan ($39/month): This plan includes exterior perimeter treatments and quarterly visits to manage nuisance insects. It’s a solid option for general pest control.
- Essential Plan ($45/month): Building on the Basic plan, this tier adds rodent bait stations, treatments for carpenter ants and box elder bugs, and de-webbing services – perfect for managing the region’s spider-heavy environment.
- Premium Plan ($59/month): For homes facing tougher pest challenges, this plan offers the most comprehensive coverage. It includes everything in the Essential plan plus active wasp nest removal, flea and tick treatments, roach protection, and rodent exclusion services. It’s particularly suited for properties near wooded areas or those dealing with persistent pest pressures.
All plans use family- and pet-safe treatments with EPA-approved products, come with a 100% satisfaction guarantee, and include free re-treatments if pests come back. Sparrow’s also provides free inspections to assess your home’s specific needs and recommend the best course of action.
When to Call Professionals
Fall is the perfect time to bring in the pros, as pests start looking for warm shelter before the colder months set in. Scheduling services in October or early November ensures treatments are applied when they’re most effective.
Here are some situations where professional help is especially important:
- Active infestations or structural issues: Signs like frequent droppings, live rodents during the day, or pests entering through hard-to-reach areas like rooflines or crawl spaces often require specialized tools and expertise.
- Recurring problems: If pests keep coming back despite your best efforts, there may be hidden attractants or entry points that only a professional can identify.
- Health and safety risks: Severe infestations can spread diseases through droppings or urine, and wasp nests near entryways can pose serious stinging hazards. Professionals are equipped to handle these risks safely.
- Time constraints: If you’re short on time, hiring experts ensures nothing is missed during this critical pre-winter period.
- Protecting your property value: Pests can cause extensive damage that leads to costly repairs. Preventive treatments are a much smaller investment compared to fixing structural damage later.
Conclusion: Prepare Your Home for a Pest-Free Winter
Now’s the time to take action – seal those entry points, eliminate anything that might attract pests, and keep an eye out for any signs of trouble. Each step in this checklist works together to create a solid defense system: sealing entry points keeps pests out, removing attractants makes your home less appealing to them, and regular monitoring ensures you can address any issues before they grow into bigger problems.
For stubborn or recurring infestations, don’t hesitate to bring in the pros. Combining your own efforts with professional services can make all the difference, especially if structural issues or larger infestations are involved. Sparrow’s Pest Control, for example, specializes in handling the specific pest challenges of the region. They use Integrated Pest Management strategies to not only address current problems but also tackle the root causes that attract pests in the first place. Their plans provide consistent protection, helping you stay ahead of potential issues all winter long.
By following these steps, you’ve already put strong defenses in place. But staying vigilant is just as important. Don’t wait until you spot droppings or hear strange noises – take preventive steps now to keep pests from becoming a problem.
Your home should be a safe, cozy haven for your family. Start today by reviewing this checklist, and call in professional help whenever needed to ensure a truly pest-free winter.
FAQs
What’s the best way to find and seal pest entry points in my home before winter?
To keep pests out of your home this winter, start by carefully examining the outside of your house for any cracks, gaps, or openings. Focus on spots around windows, doors, vents, chimneys, and the foundation. Even tiny openings can be an invitation for rodents or insects to find their way inside.
For smaller gaps or cracks, apply silicone caulk to seal them up. Replace worn-out or damaged door sweeps, and use wire mesh to block off larger openings. Also, inspect your window screens for any tears – repair or replace them if needed. Taking these precautions now can help you avoid dealing with unwelcome pests once the temperatures start to drop!
How can I reduce food and water sources that attract pests indoors?
To keep pests from invading your home, focus on cutting off their access to food and water. Store all food in airtight plastic or glass containers, and clean up crumbs or spills right away. Take out the trash frequently and use bins with snug-fitting lids. Repair any dripping pipes or faucets, and don’t allow water to collect in sinks or other spots. Also, avoid leaving pet food or water out overnight – it can attract pests just like human food does.
When should I hire a professional pest control service, and why is it better than handling pests on my own?
If you’re dealing with a stubborn pest problem – think rodents, bed bugs, or cockroaches – or want to stay ahead of potential infestations before winter arrives, hiring a professional pest control service might be your best bet.
Experts come equipped with specialized knowledge, tools, and techniques that often outperform DIY solutions. They not only tackle current infestations but also implement strategies to keep pests from returning. This means less hassle, less stress, and a pest-free home all year long. Plus, their preventative measures are tailored specifically to your home’s needs, giving you extra peace of mind as the seasons change.